
Preparation Tools
- OpenIV
- Notepad++
- DLC.rpf Template (
spvehpack.zip) - Car Model files (
.yftand.ytdfiles)
Step 1: Backup & Mods Folder
- Open your main GTA V game directory.
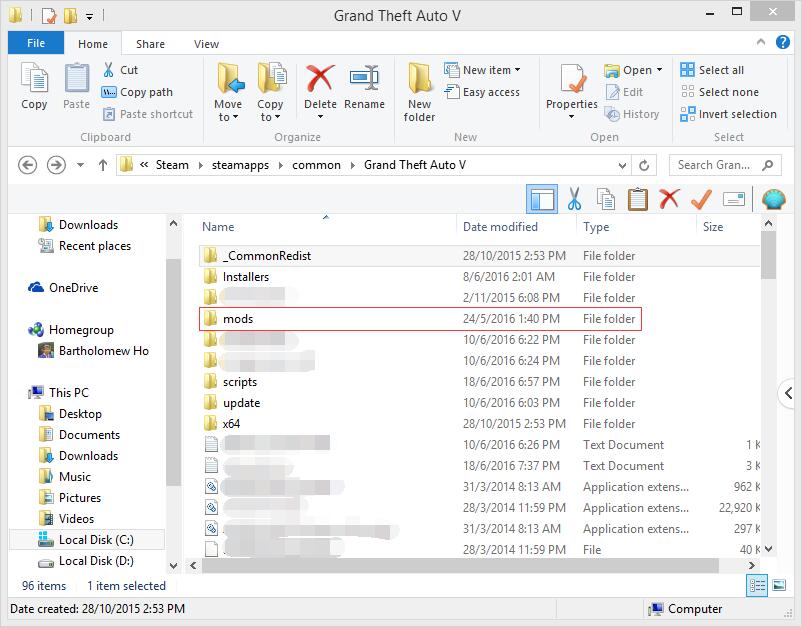
- Create a new folder and name it
mods.
Step 2: Moving Data

- Copy the
updatefolder from your main game directory. - Paste it directly inside your newly created
modsfolder.
Step 3: Remove Unnecessary Data
- Navigate to:
Grand Theft Auto V\mods\update\x64\dlcpacks - Remove all existing folders inside
dlcpacks.
Step 4: Create Add-On Pack

- Extract the downloaded
spvehpack.ziptemplate. - Move the extracted
spvehpackfolder into:Grand Theft Auto V\mods\update\x64\dlcpacks
Step 5: Download & Prep Car Models
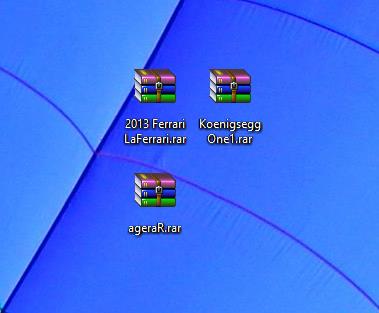

- Download a car model from GTA5-Mods.com or GTAInside and extract the files to your computer.
- Rename the model files to match your vehicle's designated internal name (e.g.,
car99).
Step 6: Adding Car Models
- Run OpenIV.
- Navigate to:
GTAV\mods\update\x64\dlcpacks\spvehpack\dlc.rpf\x64\levels\gta5\vehicles.rpf

- Drag and drop all
.yftand.ytdfiles into this archive.
Step 7: Adding Car Modifications (Optional)
If your vehicle has custom components (like a roof option in Los Santos Customs), follow this step. Otherwise, skip it.
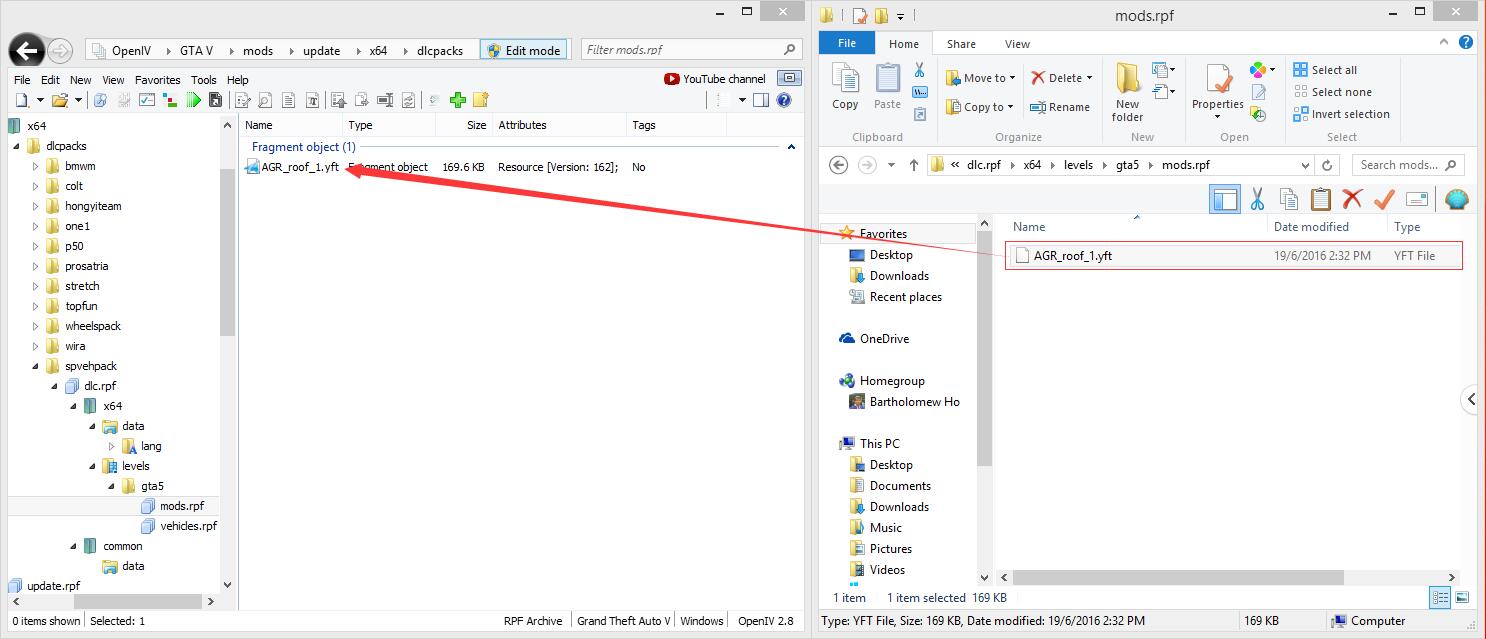
- Navigate to:
GTAV\mods\update\x64\dlcpacks\spvehpack\dlc.rpf\x64\levels\gta5\mods.rpf - Drag and drop all corresponding modification
.yftfiles here.
Step 8: Configure Stat Mods (carcols.meta)
- Extract
carcols.metafromGTAV\mods\update\x64\dlcpacks\spvehpack\dlc.rpf\common\datato your computer. - Open it with Notepad++ and add your modkit entry:
(Note: Ensure the modkit ID<Item> <modelName>car99</modelName> <modSetingsName>970_car99_modkit</modSetingsName> <type>VMT_MOD_JUNKYARD</type> </Item>970is unique and does not conflict with other add-on vehicles).
Step 9: Configure Visible Mods (carcols.meta / VisibleMods)
If your car has custom parts (bumpers, skirts, spoilers, etc.), define them under visibleMods. Skip this step if the car has no exterior options.
Step 10: Link Mods (linkMods)
If your car features separate moving parts like opening doors or custom fenders, map them inside your configuration files using linkMods.
Step 11: Configure Colors (carvariations.meta)
- Export
carvariations.metafromdlc.rpf\common\datato your computer. - Open with Notepad++ and add your vehicle color indices and modkit links using the matching modkit ID defined in Step 8.
Step 12: Content Unlocks (contentunlocks.meta)
- Export
contentunlocks.metato your computer. - Add your vehicle unlock entry:
<Item>CU_CAR99_VEH</Item>
Step 13: Shop Vehicle (shop_vehicle.meta)
- Export
shop_vehicle.metato your computer. - Add the shop reference line linking your unlock flag, game name, and label.
Step 14: Vehicle Data (vehicles.meta)
- Export
vehicles.metato your computer. - Copy an existing vehicle block (e.g.,
entityxf) as a template, paste it, and update:modelNameandtxdNameto your car's name.handlingId(leave default or point to a custom handling block).gameNameto your car name.vehicleMakeNameto the car brand (e.g.,KOENIGSEGG).audioNameHashto an existing sound profile (e.g.,ENTITYXF) so the car has engine audio.
Step 15: Handling Setup (handling.meta)
- Skip if using default game handling.
- If using custom handling, export
handling.meta, copy a base vehicle block, update thehandlingNameto match your vehicle, and apply your custom physics tweaks.
Step 16: Repack Files
- After editing, drag and drop all your updated
.metafiles back into:GTAV\mods\update\x64\dlcpacks\spvehpack\dlc.rpf\common\datainside OpenIV.
Step 17: Localize Names (global.oxt)
- Create a
global.oxtfile using Notepad++ to assign friendly in-game names for your car, brand, and modifications (preventingNULLtext bugs):Version 2 30 { CAR99 = Car Name BRAND99 = Car Brand } - In OpenIV, navigate to
GTAV\mods\update\x64\dlcpacks\spvehpack\dlc.rpf\x64\data\langand drag yourglobal.oxtinto the language archives (OpenIV will automatically compile them into.gxt2).
Step 18: Update dlclist.xml
- Export
dlclist.xmlfromGTAV\mods\update\update.rpf\common\data. - Add your pack reference line:
<Item>dlcpacks:\spvehpack\</Item> - Save and replace the file back into
update.rpf.
Step 19: Play
Launch Grand Theft Auto V, open your trainer menu, and spawn your newly installed add-on vehicle by its model name.