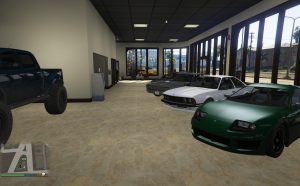
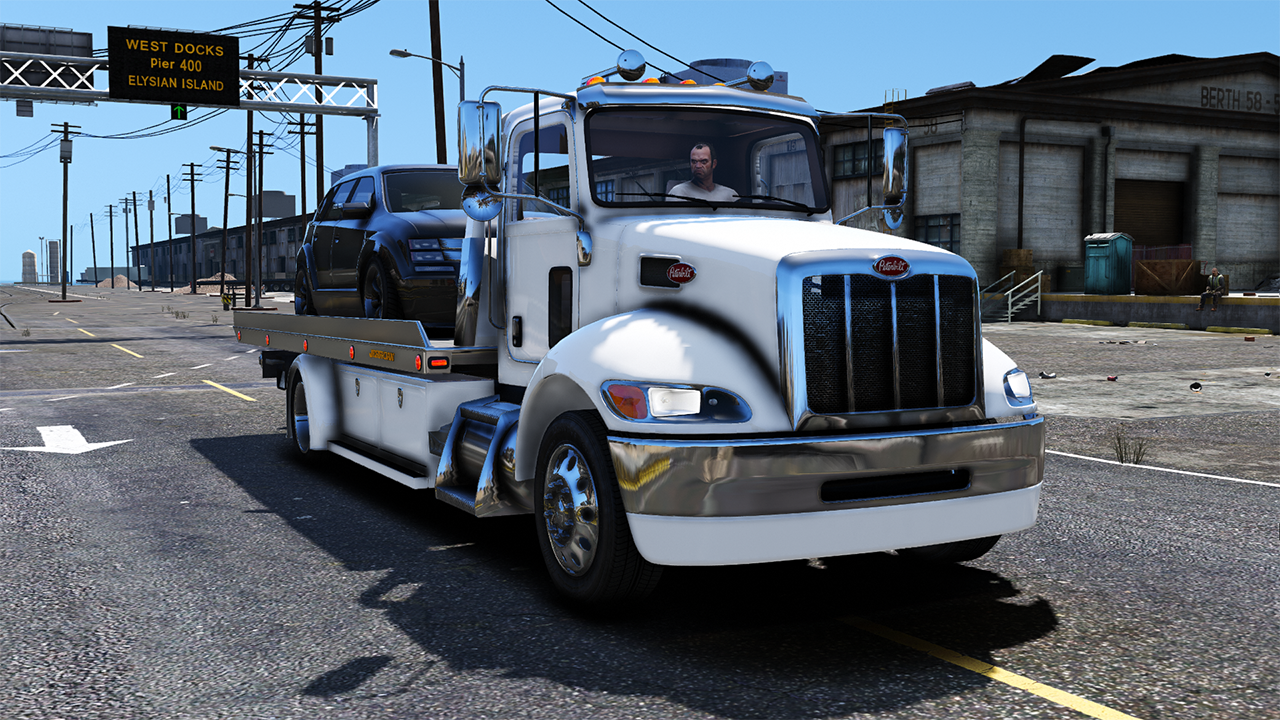
This tutorial will guide you step by step making your own personal vehicle pack.
Preparation
– OpenIV
– Notepad++
– dlc.rpf Template
– Car Model files
Step 1: Backup

Open your GTA5 Game Folder, Make a new folder and name it “mods”.
Step 2: Moving Data

Copy “update” folder into your “mods” folder.
Step 3: Remove Unnecessary Data
Navigate to “X:\Program Files (x86)\Steam\steamapps\common\Grand Theft Auto V\mods\update\x64\dlcpacks” then remove all the folders.
Step 4: Create Add-On

Extract “spvehpack.zip” that you download just now, then move “spvehpack” folder to “X:\Program Files (x86)\Steam\steamapps\common\Grand Theft Auto V\mods\update\x64\dlcpacks”
Step 5: Download Model


Download any car model from GTA5-Mods.com or GTAInside then extract to your computer, rename them to corresponding file name.
Step 6: Adding Car Model

Run OpenIV then Navigate to “GTAV\mods\update\x64\dlcpacks\spvehpack\dlc.rpf\x64\levels\gta5\vehicles.rpf” then drag & drop all the “yft” & “ytd” files.
Step 7: Adding Car Modifications

One of my car have a roof option that can be change in Los Santos Customs, if your cars don’t have any mod kit you can skip this step.
Navigate to “GTAV\mods\update\x64\dlcpacks\spvehpack\dlc.rpf\x64\levels\gta5\mods.rpf” then drag & drop all the “yft” files.
Step 8: Stat Mods
Navigate to “GTAV\mods\update\x64\dlcpacks\spvehpack\dlc.rpf\common\data”, export “carcols.meta” to your computer. Open “carcols.meta” with Notepad++ then add the following to your “carcols.meta”.
[pastacode lang=”markup” message=”carcols.meta” highlight=”” provider=”manual”]-
970_car99_modkit
MKT_SPECIAL
-
VMT_SUSPENSION
-
VMT_SUSPENSION
-
VMT_SUSPENSION
-
VMT_SUSPENSION
-
VMT_ENGINE
-
VMT_ENGINE
-
VMT_ENGINE
-
VMT_ENGINE
-
VMT_BRAKES
-
VMT_BRAKES
-
VMT_BRAKES
-
VMT_GEARBOX
-
VMT_GEARBOX
-
VMT_GEARBOX
-
VMT_ARMOUR
-
VMT_ARMOUR
-
VMT_ARMOUR
-
VMT_ARMOUR
-
VMT_ARMOUR
-
HORN_TRUCK
VMT_HORN
-
HORN_COP
VMT_HORN
-
HORN_CLOWN
VMT_HORN
-
HORN_MUSICAL_1
VMT_HORN
-
HORN_MUSICAL_2
VMT_HORN
-
HORN_MUSICAL_3
VMT_HORN
-
HORN_MUSICAL_4
VMT_HORN
-
HORN_MUSICAL_5
VMT_HORN
-
HORN_SAD_TROMBONE
VMT_HORN
-
MUSICAL_HORN_BUSINESS_1
VMT_HORN
-
MUSICAL_HORN_BUSINESS_2
VMT_HORN
-
MUSICAL_HORN_BUSINESS_3
VMT_HORN
-
MUSICAL_HORN_BUSINESS_4
VMT_HORN
-
MUSICAL_HORN_BUSINESS_5
VMT_HORN
-
MUSICAL_HORN_BUSINESS_6
VMT_HORN
-
MUSICAL_HORN_BUSINESS_7
VMT_HORN
-
DLC_BUSI2_C_MAJOR_NOTES_C0
VMT_HORN
-
DLC_BUSI2_C_MAJOR_NOTES_D0
VMT_HORN
-
DLC_BUSI2_C_MAJOR_NOTES_E0
VMT_HORN
-
DLC_BUSI2_C_MAJOR_NOTES_F0
VMT_HORN
-
DLC_BUSI2_C_MAJOR_NOTES_G0
VMT_HORN
-
DLC_BUSI2_C_MAJOR_NOTES_A0
VMT_HORN
-
DLC_BUSI2_C_MAJOR_NOTES_B0
VMT_HORN
-
DLC_BUSI2_C_MAJOR_NOTES_C1
VMT_HORN
-
HIPSTER_HORN_1
VMT_HORN
-
HIPSTER_HORN_2
VMT_HORN
-
HIPSTER_HORN_3
VMT_HORN
-
HIPSTER_HORN_4
VMT_HORN
-
INDEP_HORN_1
VMT_HORN
-
INDEP_HORN_2
VMT_HORN
-
INDEP_HORN_3
VMT_HORN
-
INDEP_HORN_4
VMT_HORN
-
LUXE_HORN_1
VMT_HORN
-
LUXE_HORN_2
VMT_HORN
-
LUXE_HORN_3
VMT_HORN
-
LUXORY_HORN_1
VMT_HORN
-
LUXURY_HORN_2
VMT_HORN
-
LUXURY_HORN_3
VMT_HORN
-
ORGAN_HORN_LOOP_01
VMT_HORN
-
ORGAN_HORN_LOOP_01_PREVIEW
VMT_HORN
-
ORGAN_HORN_LOOP_02
VMT_HORN
-
ORGAN_HORN_LOOP_02_PREVIEW
VMT_HORN
-
LOWRIDER_HORN_1
VMT_HORN
-
LOWRIDER_HORN_1_PREVIEW
VMT_HORN
-
LOWRIDER_HORN_2
VMT_HORN
-
LOWRIDER_HORN_2_PREVIEW
VMT_HORN
-
XM15_HORN_01
VMT_HORN
-
XM15_HORN_01_PREVIEW
VMT_HORN
-
XM15_HORN_02
VMT_HORN
-
XM15_HORN_02_PREVIEW
VMT_HORN
-
XM15_HORN_03
VMT_HORN
-
XM15_HORN_03_PREVIEW
VMT_HORN
Change “970_car99_modkit” to your added car’s name. For example: “970_one1_modkit”.
Note: Every add-on vehicle must have a unique id, if you already have an add-on car with id 970, then you need to change it in order to work. otherwise your add-on car will conflict with other add-on cars.
Which will cause this car or other add-on cars have no modifications inside Los Santos Customs.
And your add-on car now has all the basic Stat mods which can applied on Los Santos Customs. What are stat mods? Stat mods are Car modifications such as Engine, Armour, Transmission, Suspension, Turbo, Neon, Headlights, Brakes, etc.
Remember, If you added more than 1 car, you need to add more than 1 item as well and all items has different id.
Step 9: Visible Mods
If your car has modifications such as front bumper, rear bumper, side skirt, hood, spoiler, roof, fender, etc. You’ll need to add them in “visibleMods”.
If you car doesn’t have any modifications like above, you can skip this step.
Find [pastacode lang=”markup” message=”VisibleMods” highlight=”” provider=”manual”]
[pastacode lang=”markup” message=”VisibleMods” highlight=”” provider=”manual”]
-
          AGR_roof_1
          agerar_ROOF1


          VMT_ROOF
          chassis
          chassis
          VMCP_DEFAULT
modelName: name use in mods.rpf
modShopLabel: use in global.gxt2, I’ll skip this for now, will teach you later.
type:
– VMT_SPOILER = Spoiler
– VMT_BONNET = Hood
– VMT_BUMPER_F = Front Bumper
– VMT_BUMPER_R = Rear Bumper
– VMT_GRILL = Grill
– VMT_DOOR_L = Left Door
– VMT_WING_L = Left Fender
– VMT_INTERIOR1 = Interior
– VMT_INTERIOR2 = Bobble Head
– VMT_INTERIOR3 = Dashboard
– VMT_INTERIOR4 = Gauges
– VMT_INTERIOR5 = Door Speaker
– VMT_CHASSIS = Roll Cage
– VMT_CHASSIS2 = Headlight Covers
– VMT_CHASSIS3 = Fog Lamp
– VMT_CHASSIS4 = Roof Scoop
– VMT_SKIRT = Side Skirt
– VMT_EXHAUST = Exhaust
– VMT_ENGINEBAY1 = Engine
– VMT_ENGINEBAY2 = Engine Cover
– VMT_ENGINEBAY3 = Sway Bar
– VMT_ROOF = Roof Spoiler
– VMT_SEATS = Seats
– VMT_STEERING = Steering
– VMT_LIVERY_MOD = Livery like Lowriders not Windsor
bone/collisionBone:
– boot = Spoiler
– bonnet = Hood
– bumper_f = Front bumper
– bumper_r = Rear bumper
– chassis = Grill/Fender/Headlights/Fog Lamp/Roof/Side Skirt/Exhaust/Engine/Seats/Dashboard/Interior/Steering (collisionBone)/Rollcage/Livery/Bobble Head (collisionBone)
– steeringwheel = Steering (bone)
– bobble_head = Bobble Head (bone)
– door_dside_f = Driver Door
– window_lf = Driver Window
Step 10: Link Mods
If your car has modifications such as Doors and Fenders, you’ll need to add them into “linkMods”.
If you car doesn’t have any modifications like above, you can skip this step.
-
          car99_door
          door_pside_f
modelName: name use in mods.rpf
bone:
– door_pside_f = Passenger Door
– window_rf = Passenger Window
– wing_lf = Left Fender
– wing_rf = Right Fender
Step 11: Car Variation/Colors
Now, export “carvariations.meta” to your computer. Open “carvariations.meta” with Notepad++ then add the following to your “carvariations.meta”.
[pastacode lang=”markup” message=”carvariations.meta” highlight=”” provider=”manual”]-
car99
-
112
112
159
156
-
62
62
4
156
-
18
18
160
156
-
19
19
136
156
-
27
27
36
156
-
108
108
123
156
- 970_car99_modkit
-
Standard White
-
White Plate 2
-
Blue Plate
-
Yellow Plate
And again, change “970_car99_modkit” to your car name and also id 970 to the same id use in “carcols.meta”.
Wondering what are those number in between “indices”? Those numbers are combination of car color. You can reference here.
Remember, If you added more than 1 car, you need to add more than 1 item as well and all items has different id.
Step 12: Content Unlocks
Now, export “contentunlocks.meta” to your computer. Open “contentunlocks.meta” with Notepad++ then add the following to your “contentunlocks.meta”.
[pastacode lang=”markup” message=”contentunlocks.meta” highlight=”” provider=”manual”]- CU_CAR99_VEH
Each vehicle each line.
Step 13: Shop Vehicle
Now, export “shop_vehicle.meta” to your computer. Open “shop_vehicle.meta” with Notepad++ then add the following to your “shop_vehicle.meta”.
[pastacode lang=”markup” message=”shop_vehicle.meta” highlight=”” provider=”manual”]-
			CU_CAR99_VEH
			car99

			CAR99
If you have more than 1 car, remember to add the rest as well.
Step 14: Vehicle Data
Now, export “vehicles.meta” to your computer. Open “vehicles.meta” with Notepad++, if this car is going to replace “entityxf” for example, navigate to “GTAV\common.rpf\data\levels\gta5\vehicles.meta”, search for “entityxf”, copy the whole thing to your “vehicles.meta”
Change “modelName” and “txdName” to your car name, for example: “one1”.
If you want to use existing game handling instead of using custom handling, then don’t touch “handlingId”. If you want to have different handling, then change “handlingId” to your car name, for example: “ONE1”.
Change “gameName” to your car name, for example: “ONE1”.
Change “vehicleMakeName” to your car’s brand, for example: “KOENIGSEGG”.
Find “audioNameHash” and change to “
Repeat for the rest of the cars if you have more than 1 car.
Step 15: Handling
Now, export “handling.meta” to your computer. Open “handling.meta” with Notepad++. If you using game default handling for this car, then you can skip this step. But if you are using custom handling, you need to add your own handling.
Navigate to “GTAV\common.rpf\data\handling.meta”, find “entityxf” for example, copy the whole thing to your “handling.meta”.
Now change “handlingName” to your car name for example “ONE1” then just tweak the handling. I’ll not going to explain how to edit handling in this tutorial.
Remember, If you added more than 1 car, you need to add more than 1 handling.
Step 16: Almost there

After you done all the editing, it’s time to import them back into dlc.rpf. Navigate to “GTAV\mods\update\x64\dlcpacks\spvehpack\dlc.rpf\common\data” then drag & drop all the updated files.
Step 17: Name your car
Open Notepad++ then add the following:
This will give your Cars, mod kits a friendly name in the game instead of NULL.
Version 2 30
{
	CAR99 = Car Name
	BRAND99 = Car Brand
	car99_bump_f = Front Bumper
}
Where to find their names?
For the Car Name, Brand, can be found in “vehicles.meta”
ONE1
KOENIGSEGG For the Modification can be found in “carcols.meta”
[pastacode lang=”markup” message=”global.oxt” highlight=”” provider=”manual”]agerar_ROOF1 After you have done, Save As “global.oxt” then switch back to OpenIV, navigate to “GTAV\mods\update\x64\dlcpacks\spvehpack\dlc.rpf\x64\data\lang”, Drag & drop your “global.oxt” into every rpf in that folder.
If you done correctly, OpenIV will help you convert into “global.gxt2” file type.
Step 18: Update DLCList
Now, navigate to “GTAV\mods\update\update.rpf\common\data”, export “dlclist.xml” to your computer. Open “dlclist.xml” with Notepad++, then add
[pastacode lang=”markup” message=”dlclist.xml” highlight=”” provider=”manual”]- dlcpacks:\spvehpack\
Save and import back to “GTAV\mods\update\update.rpf\common\data”.
Step 19: Play

Run GTA5, use native trainer to spawn your added vehicles. If you do it correctly, they should work.
Alright, It’s time to an end, thank you so much for reading this tutorial.


